Every producer knows the frustration. You’ve crafted the perfect beat, layered intricate melodies, and dialled in that killer bassline. But when it comes time to add vocals, everything falls apart. The recording sounds thin, muddy, or just plain unprofessional compared to your favourite tracks.
Here’s the truth: you don’t need a $3,000 microphone or a world-class studio to achieve radio-ready vocals.
With the right approach, some strategic use of free vocal presets, and solid mixing fundamentals, you can transform your home recordings into something that competes with the pros.
We’ll walk you through practical, budget-friendly techniques that deliver real results.
Whether you’re working in FL Studio or any other DAW, these methods will help you squeeze every ounce of quality from your current setup.
Fix the Recording Source First
Before diving into plugins and effects, let’s address the foundation. No amount of post-processing can save a poorly recorded vocal. Think of it like photography – you can enhance a good photo, but you can’t turn a blurry mess into a masterpiece.
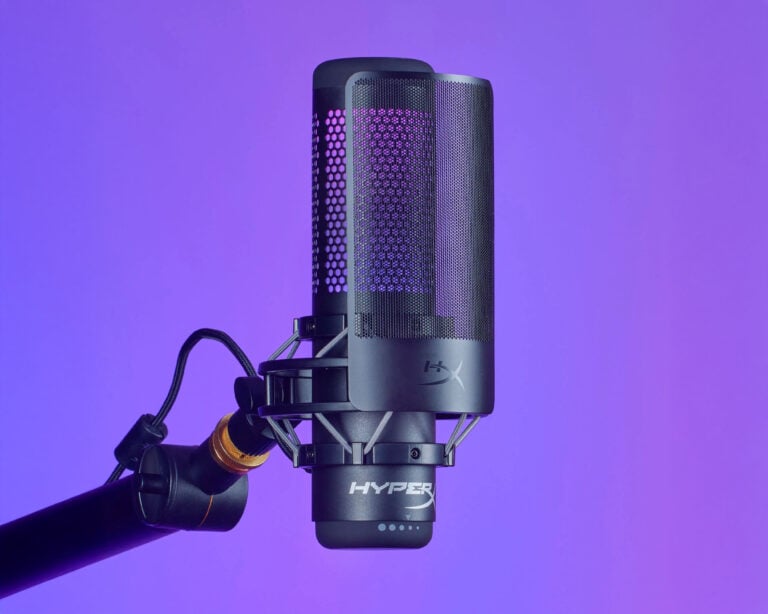
Start with your signal path.
Even budget gear can deliver impressive results when used correctly.

Position your microphone 6-8 inches from the vocalist's mouth, slightly off-axis to avoid plosives.
A simple pop filter costs under $15 and eliminates those harsh P and B sounds that plague amateur recordings.
Treat Your Room.
A room treatment doesn’t require expensive panels.
Most importantly, get the performance right at the source. A confident, well-delivered vocal with minor technical flaws will always outshine a perfectly processed but lifeless take.

Use Free Vocal Presets and Chains
This is where the magic happens for many producers. Vocal presets are pre-configured effect chains that instantly apply professional processing to your recordings.
Think of them as shortcuts that combine EQ, compression, reverb, and other effects in proven combinations.
FL Studio users have access to excellent built-in vocal chains through the mixer’s preset system.
These templates provide starting points that you can tweak to fit your specific recording and style.
For even more options, platforms like Vocalfy offer comprehensive preset collections that cover everything from intimate singer-songwriter styles to aggressive rap vocals.
These professionally crafted chains save hours of trial and error while teaching you how different effects work together.
The key is using presets as starting points, not final destinations.
Load a preset that gets you 80% of the way there, then make small adjustments to fit your unique sound and recording characteristics.
Learn EQ Basics for Vocals
EQ is your most powerful tool for vocal clarity, yet many producers overcomplicate it. Start with a simple three-point approach that addresses the most common issues.
Step 1:
First, apply a high-pass filter around 80-100 Hz to remove low-end rumble and room noise.
Unless you’re recording a bass vocalist, there’s nothing useful happening in those frequencies.
Step 2:
Step 3:
Finally, add a gentle high-shelf boost around 10-12 kHz to restore air and presence.
This brightens the vocal without making it sound artificial.
Remember, every voice is different. These starting points work for most recordings, but trust your ears and adjust accordingly.
The goal is transparency – your EQ should make the vocal sound better, not different.

Compress Smartly (Without Killing Dynamics)
Compression controls the dynamic range of your vocal, evening out loud and soft passages. But heavy-handed compression kills the life and emotion in a performance.
After appropriate adjustments, you should hear the vocals sitting more consistently in the mix without obvious pumping or breathing effects.
Many free compressors deliver excellent results. The stock compressor in most DAWs handles vocals beautifully when configured properly.
Focus on subtle, musical compression rather than dramatic effect processing.

Add Subtle Reverb and Delay
Time-based effects transform a dry, lifeless vocal into something that sits naturally in your mix. The keyword here is subtle – too much reverb makes vocals sound distant and unprofessional.
Start with a short room reverb with a decay time under one second.
Position the reverb return about 15-20 dB below your dry vocal level.
Try a short delay (1/8 note) panned opposite your main vocal
Use a longer delay (1/4 or 1/2 note) with heavy filtering to create rhythmic echoes that don't compete with the main performance
Many DAWs include excellent reverb and delay plugins. Experiment with different room sizes and delay times until you find something that complements your track’s energy and tempo.
Use Vocal Effects Plugins for Polish
Beyond the basics, specialized vocal plugins add professional polish to your recordings. Saturation plugins add warmth and character, while chorus effects create width and thickness.
De-essers tame harsh S sounds that cut through the mix unpleasantly. These plugins work like frequency-specific compressors, only engaging when sibilant sounds exceed your threshold.

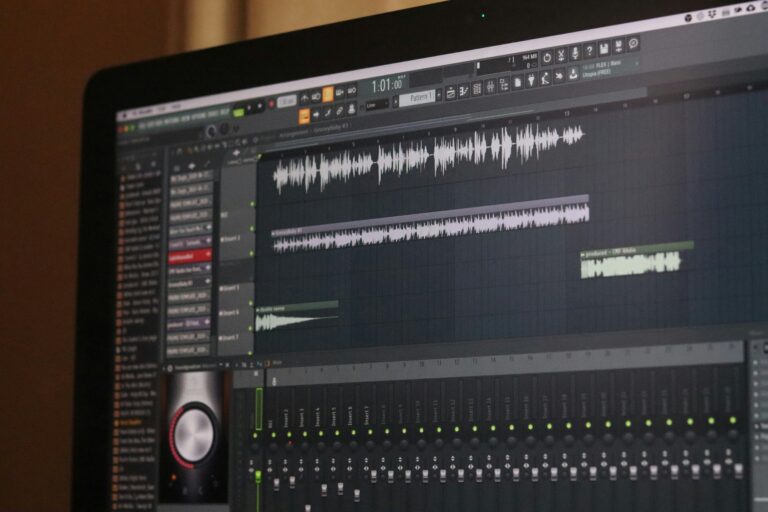
When working with effects, keep your audio waveform visible. Visual feedback helps you see when processing is adding unwanted artefacts or over-compressing your signal.
For producers working with vocal samples rather than live recordings, these same principles apply. Layer effects gradually and compare your processed version against the original to ensure you’re enhancing rather than degrading the source material.
Final Mixing Tips
Great vocal production often involves layering multiple elements. Double-tracking creates natural thickness – record the same part twice and pan the takes slightly left and right.
This technique works better than artificial doubling plugins because slight timing and pitch variations add organic width.
Harmony layers fill out the frequency spectrum and add emotional impact.
Even simple octave doubles can make a huge difference in the perceived size and power of your vocal.
When mixing, regularly solo your vocal against different elements of your track.
Check how it sits with just the drums, then with bass added, then with the full arrangement.
This helps you identify frequency conflicts and balance issues.
Consider referencing vocal only tracks from your favourite artists. This reveals how professional vocals sound in isolation, helping you identify areas where your recordings might need improvement.
For electronic music producers, don’t overlook the power of royalty-free house vocals and WAV samples. These professionally recorded elements can elevate your productions while you develop your recording and processing skills.
CONCLUSION
Professional vocal sound isn’t about expensive gear – it’s about understanding your tools and applying them thoughtfully. Start with a clean recording, use processing to enhance rather than transform, and always serve the song’s emotional core.
The techniques covered here will dramatically improve your vocal production without breaking the bank. Combined with quality source material from platforms offering free vocal presets, sample libraries, and acapellas for DJs, you have everything needed to create compelling vocal productions.
Download a few free plugins, experiment with these techniques, and most importantly, trust your ears. Great vocal production is a skill that takes time to develop. However, these basics will speed up your progress. They will help you get professional results from day one.
 Made with Bullet